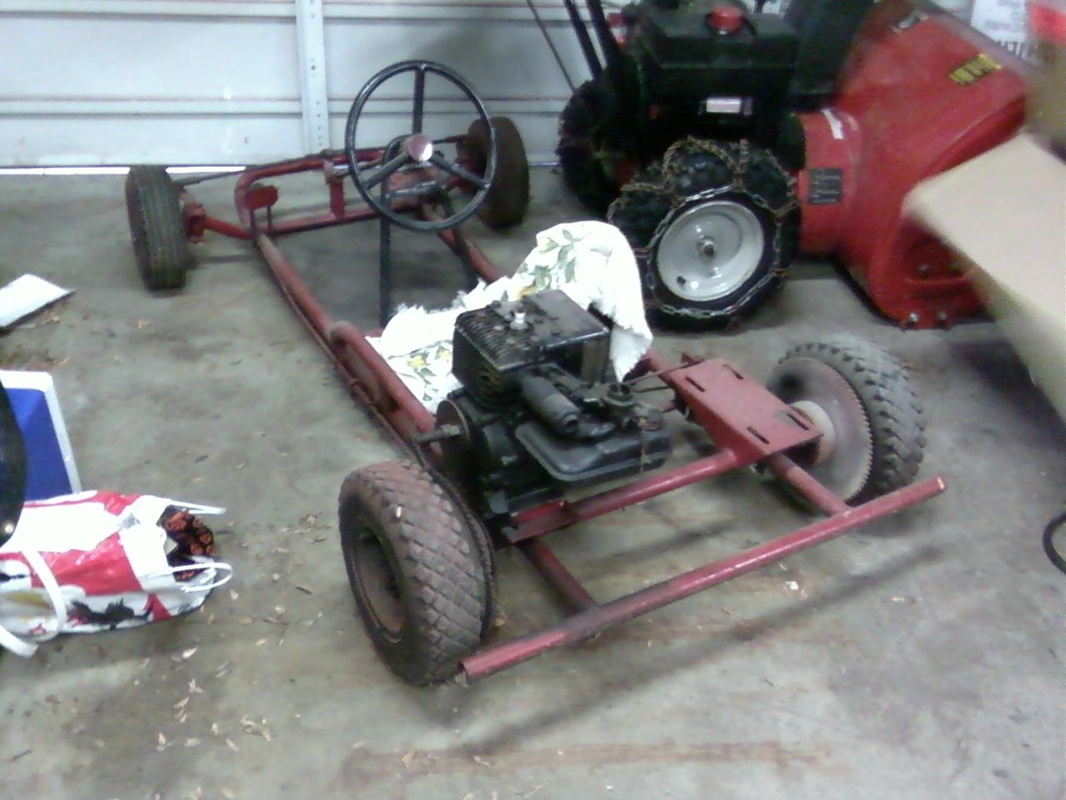
The 1958 Homelite Spitfire Go Kart, purchased new by my Grandfather for my dad and 2 uncles when they were kids

The bottom read "Painted by A & D 84" My freind Anthony Butcher gave it this killer red paint job in 1984. Luckily we didn't paint over the original Homelite Spitfire badge!
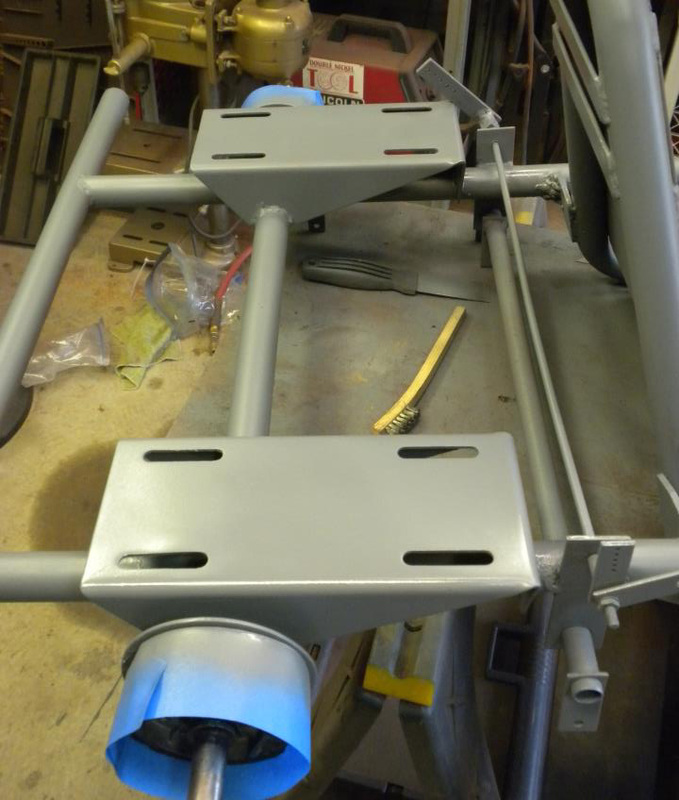
There were tons of nooks and crannies which took some time to get clean, I followed it up with a coat of primer.
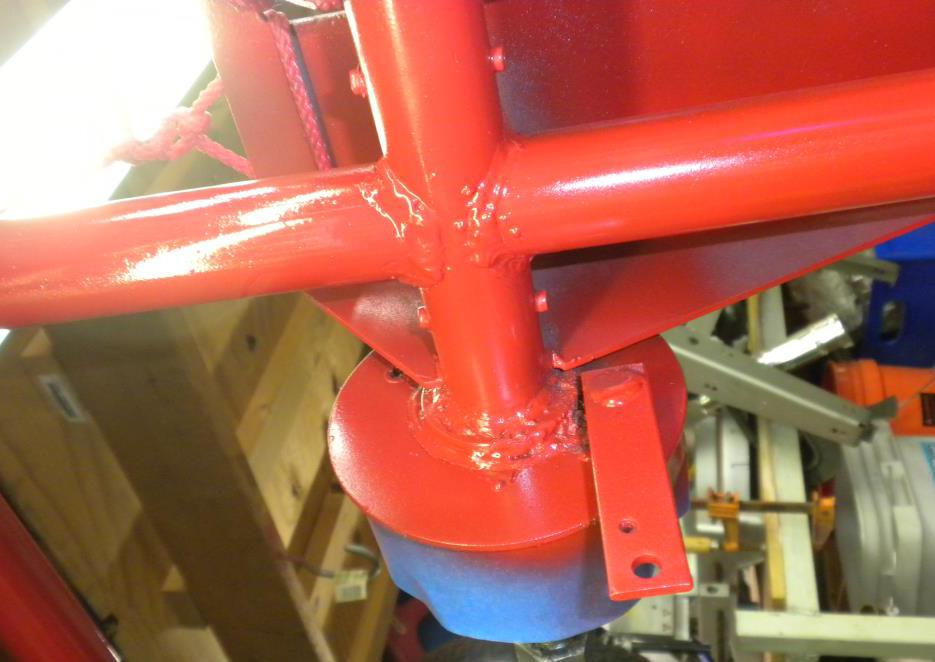
This is after 2 coats of High Gloss Krylon Clear.
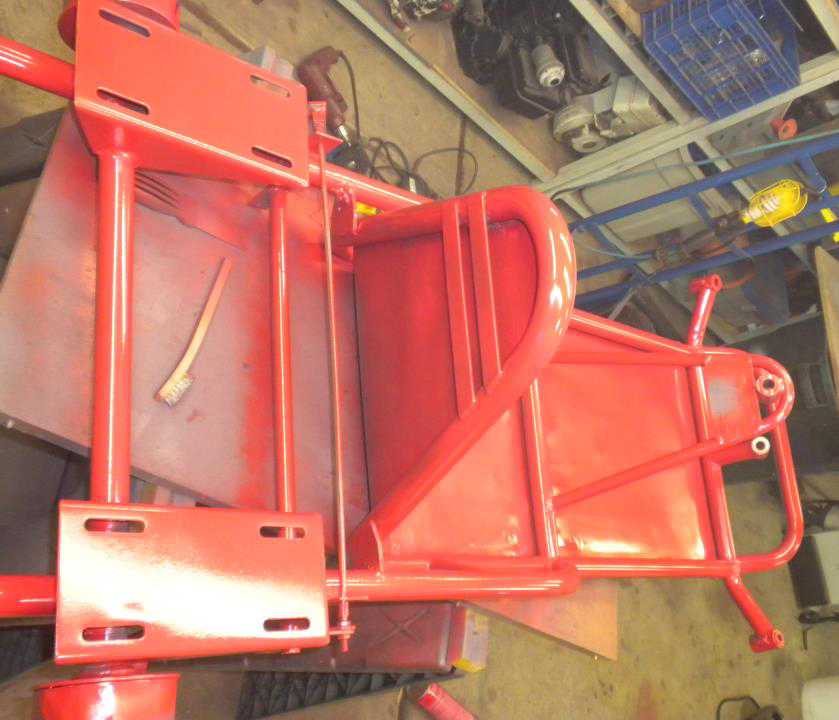
Here's a shot of the bottom of the back end, you can really see those nooks and crannies I was talking about.
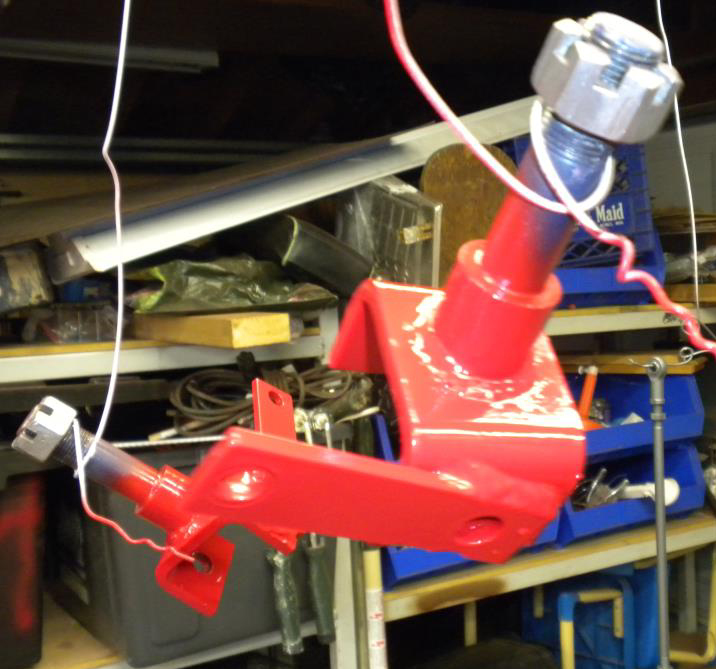
I chose to carefully mask the brake shoes and assembly, I didn't want to risk breaking or losing any of the hard to replace springs.
...and I think I accomplished it.

You can see the dings and dents in the sheet metal. I chose not to smooth it out as it will be covered by a rubber floor and seat cushions.
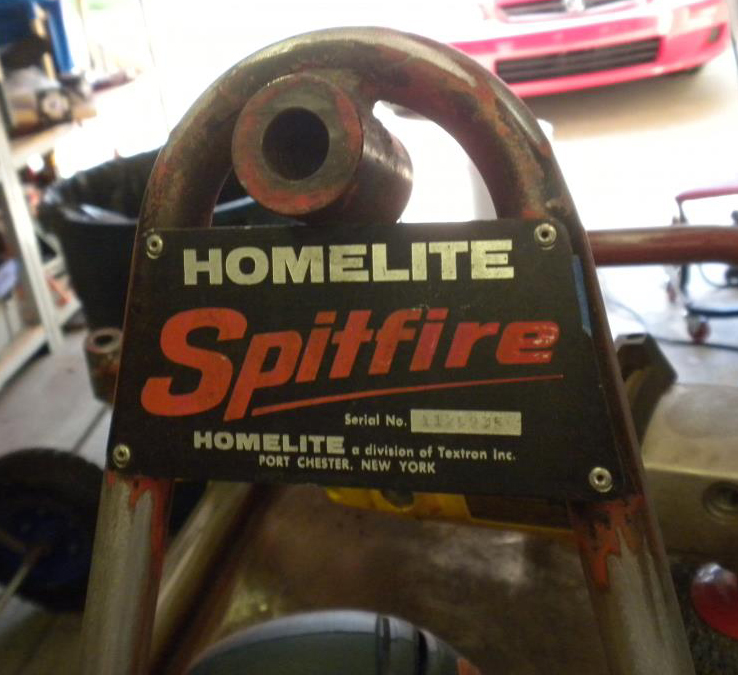
The original Homelite Spifire badge with serial number. From what I have learned, these don't usually survive and when they do they have been painted over.
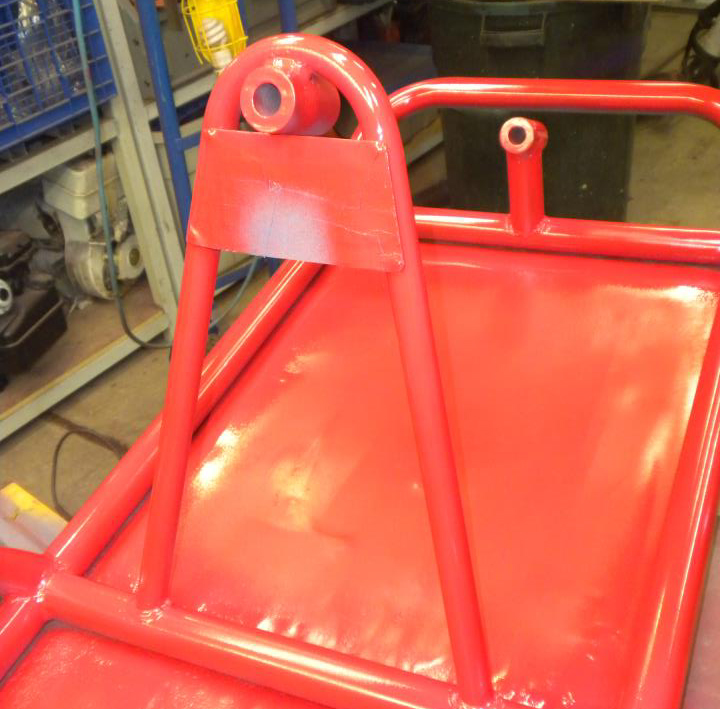
I left it in place and taped it up, I wanted to retain the original pop rivets.
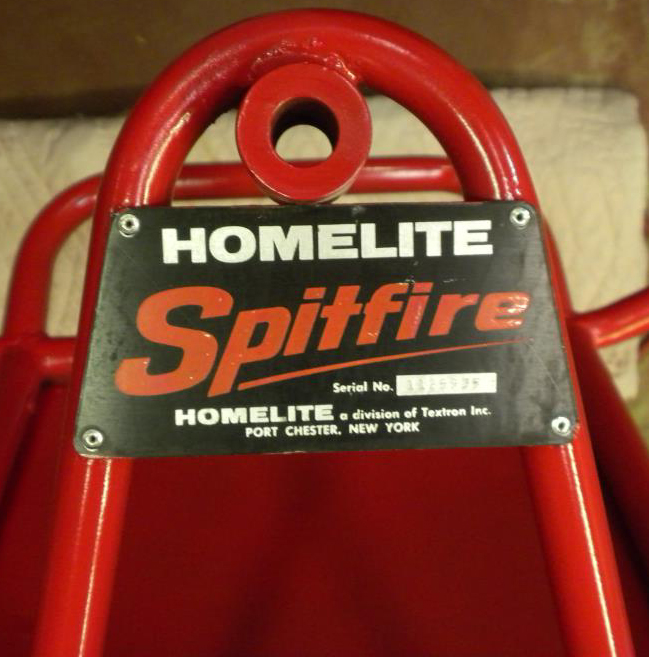
That's as clean as I could get it, I sprayed a coat of semi gloss clear over it
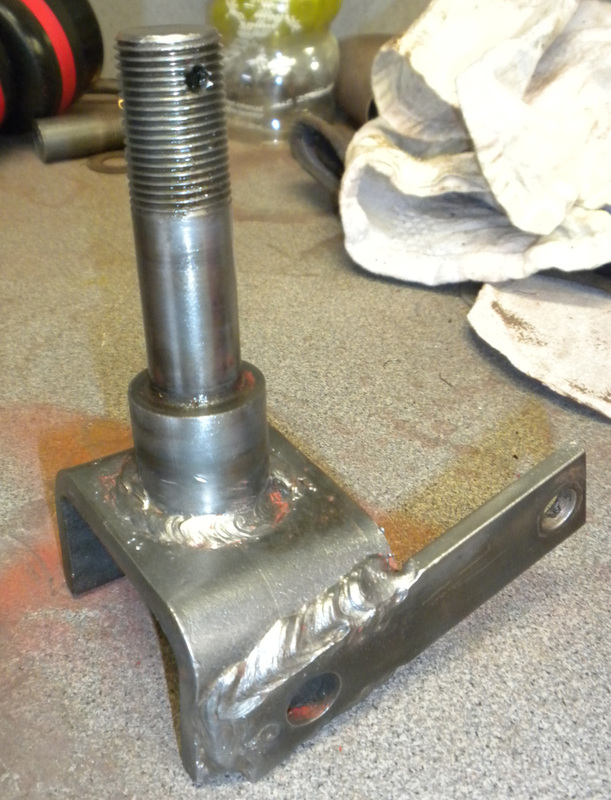
I used my wire wheel in my bench grinder to strip the spindles clean
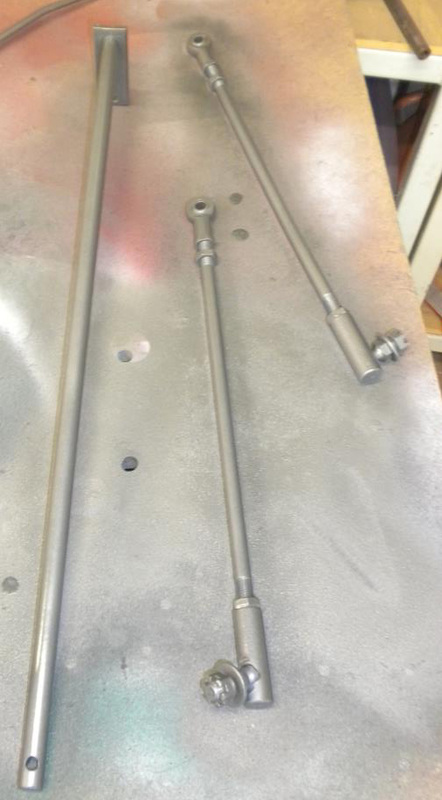
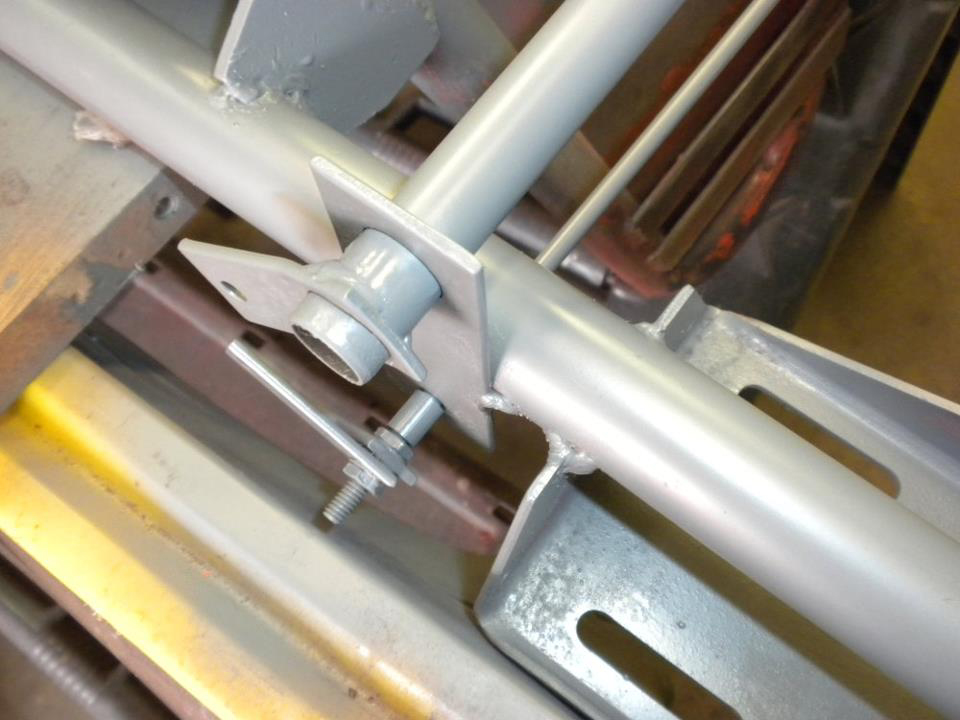
The steering llinkage was also finished in the gun metal Krylon
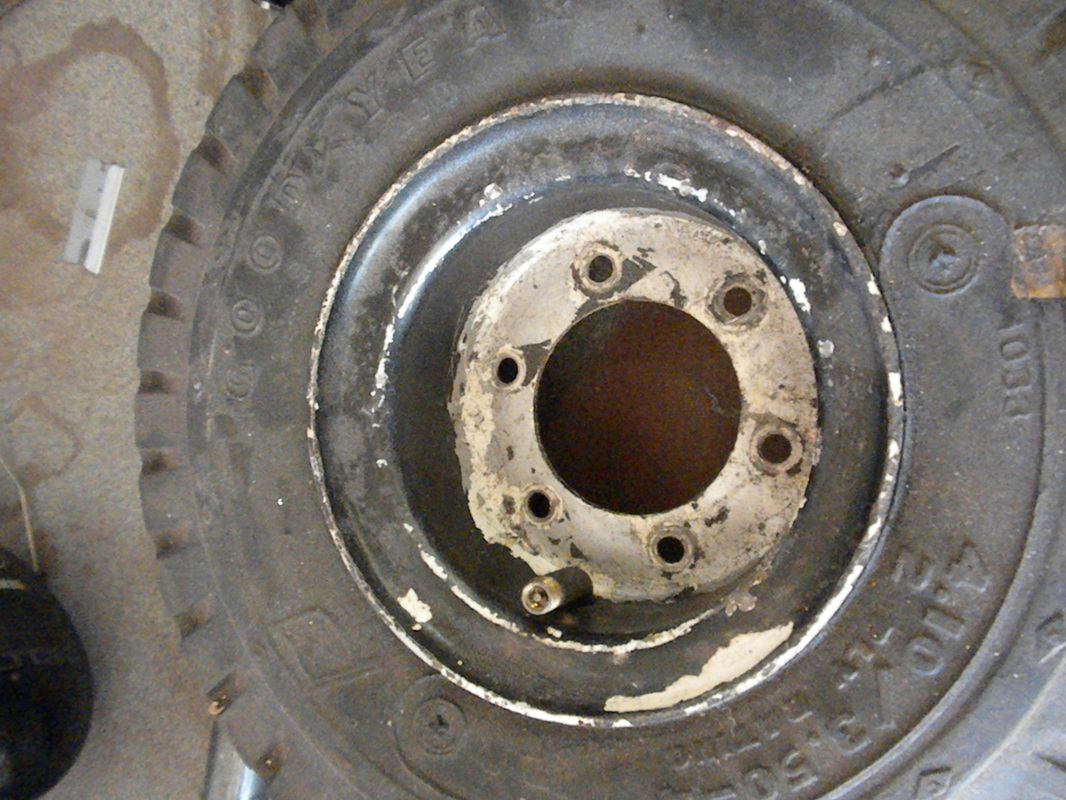
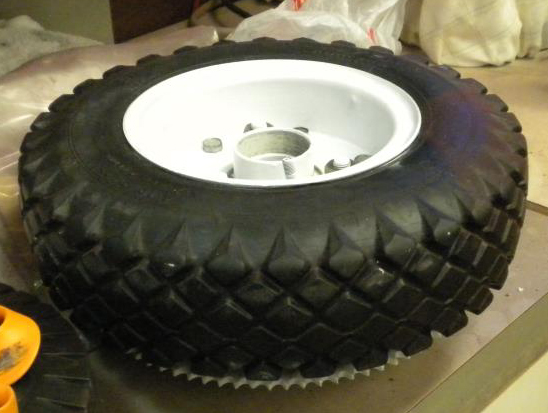
Of course with it being a one family owned Kart, it not only had all 4 original split steel wheels, but all 4 original Goodyear tires
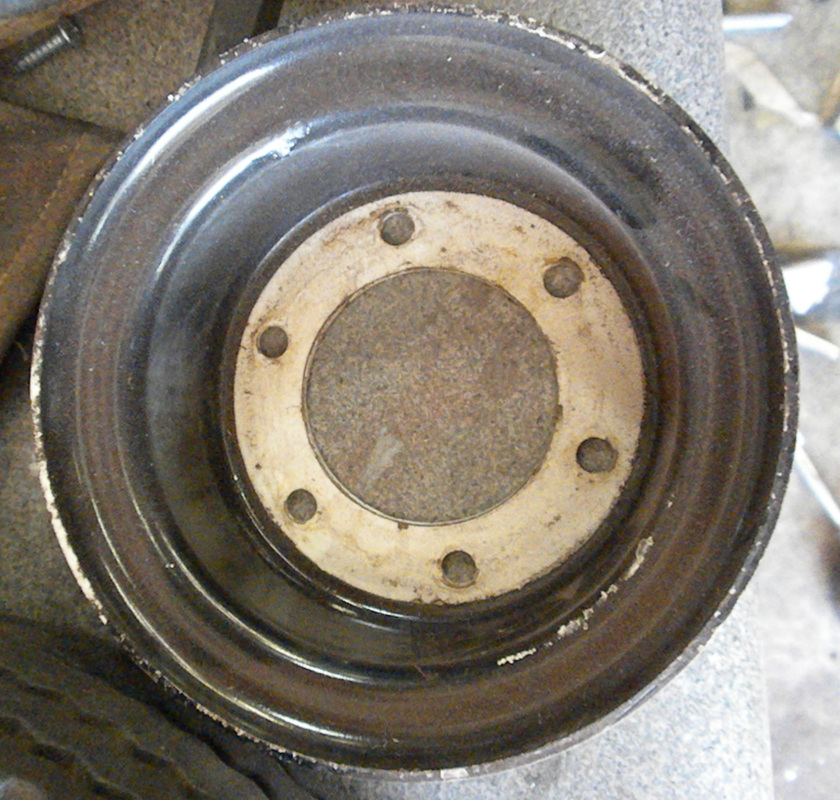
The wheels, as well as the brake drums and sprockets were all originally painted gloss white as you can see were my rattle can paint job in 1984 didn't cover it up. This is the front wheel
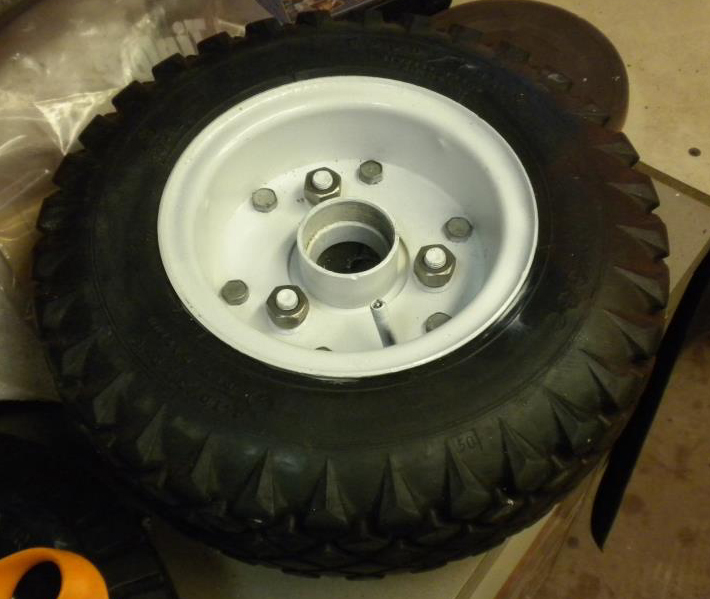
Another Shot of the rear wheel
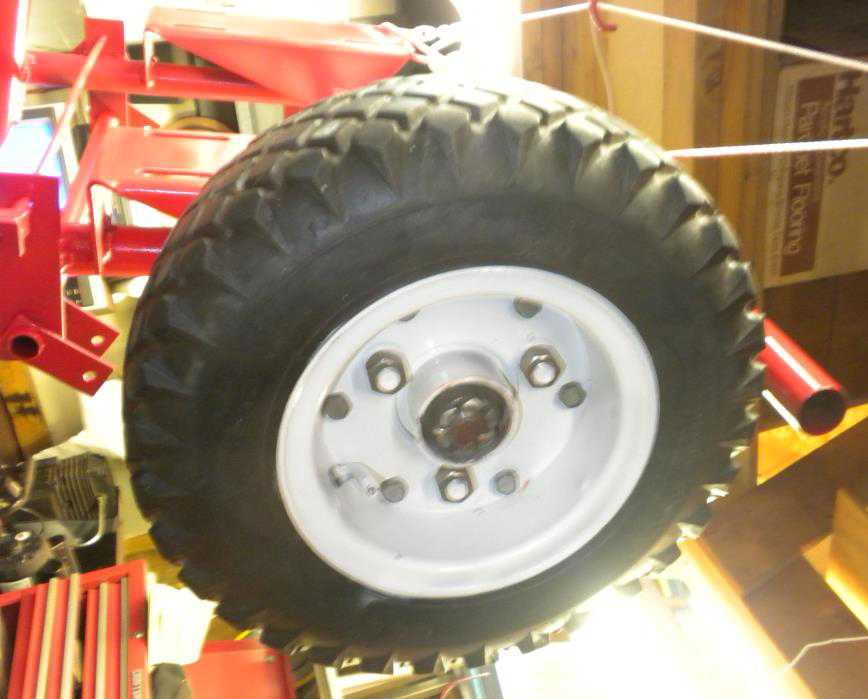
One of the rear wheels back on the kart

Next I turned my attention to the original steering wheel, it was cracked and suffered a brush painted red center during my 1984 repaint.
|
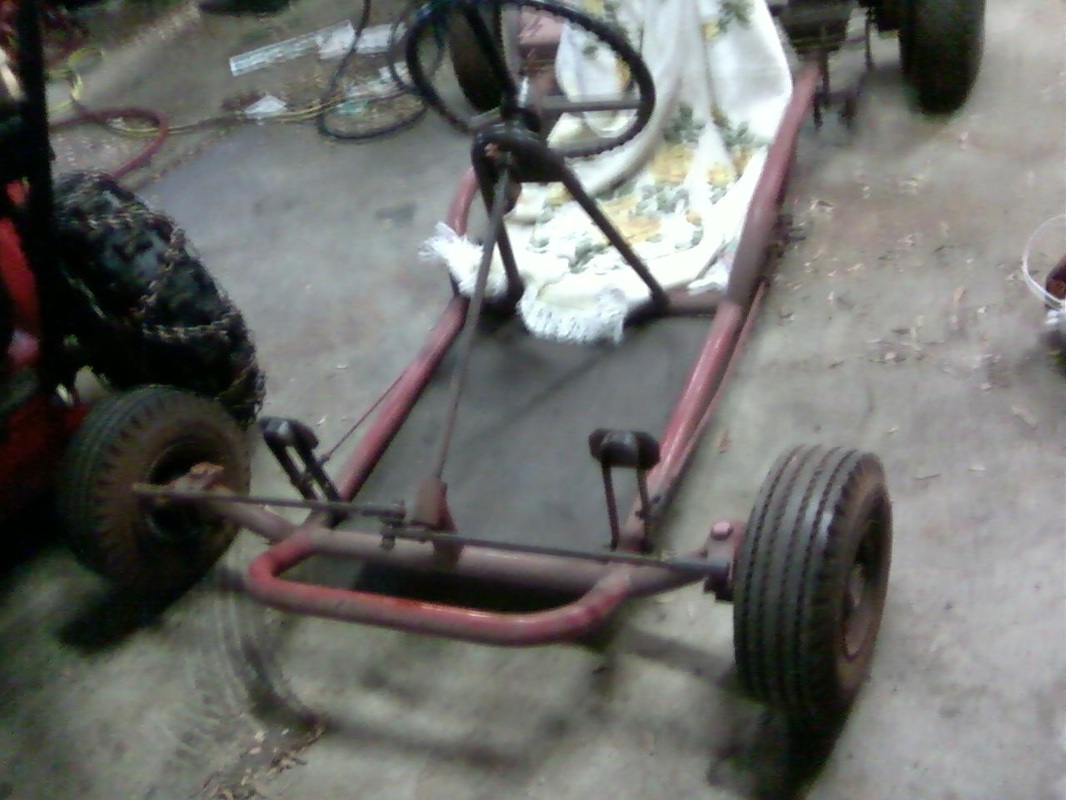
I was very lucky to end up with it when I was a kid and still have it. These pictures were right after I dug it out of his garage to bring it home.
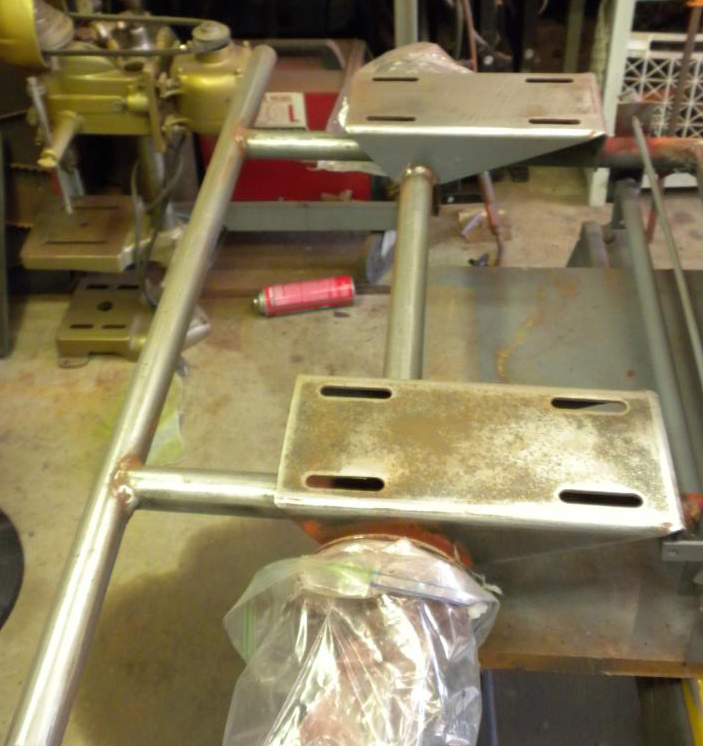
I started by completely dissasembling the kart, being careful to take pictures along the way. Keeping with my budget theme ( it is easy when you don't have much money) I began to strip the chassis to bare metal using a combination of a grinder with 80 grit paper and wire brush, and 2 different electric sanders. Here you can see the back end and motor plates almost stripped clean.
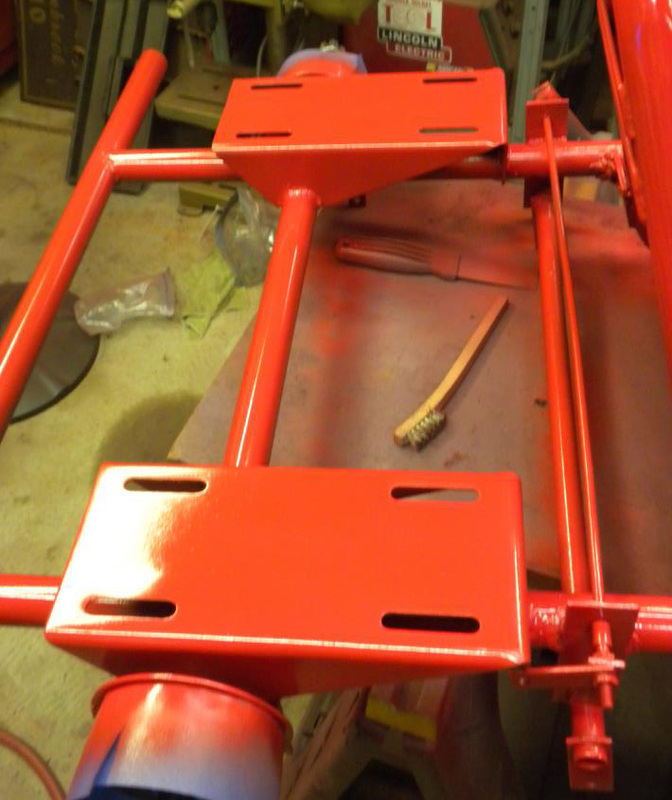
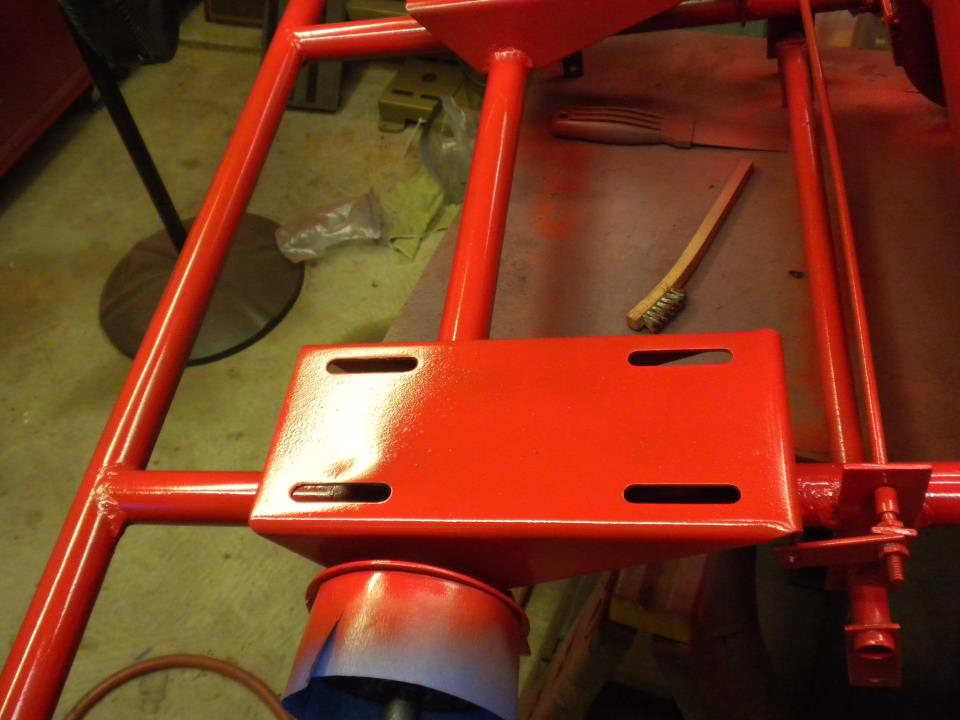
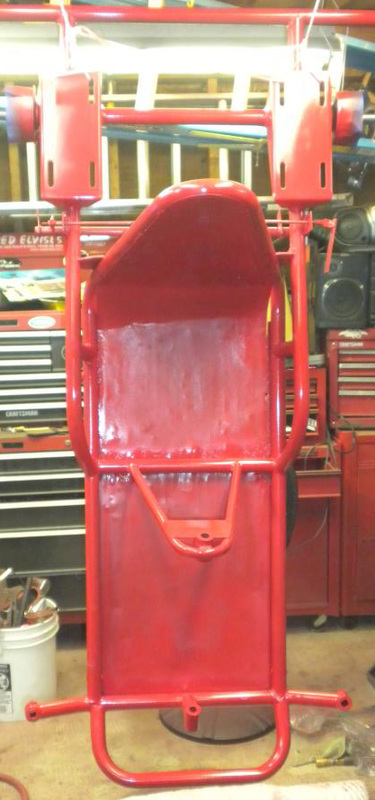
You can see in this picture how taking your time doing your prep work pays off when it come time to lay on the color. The original color was a bit more orange but to save money, I went with Krylon Apple Red.
There were some things I didn't want to try to remove so I carefully degreased and wire brished these areas before priming.
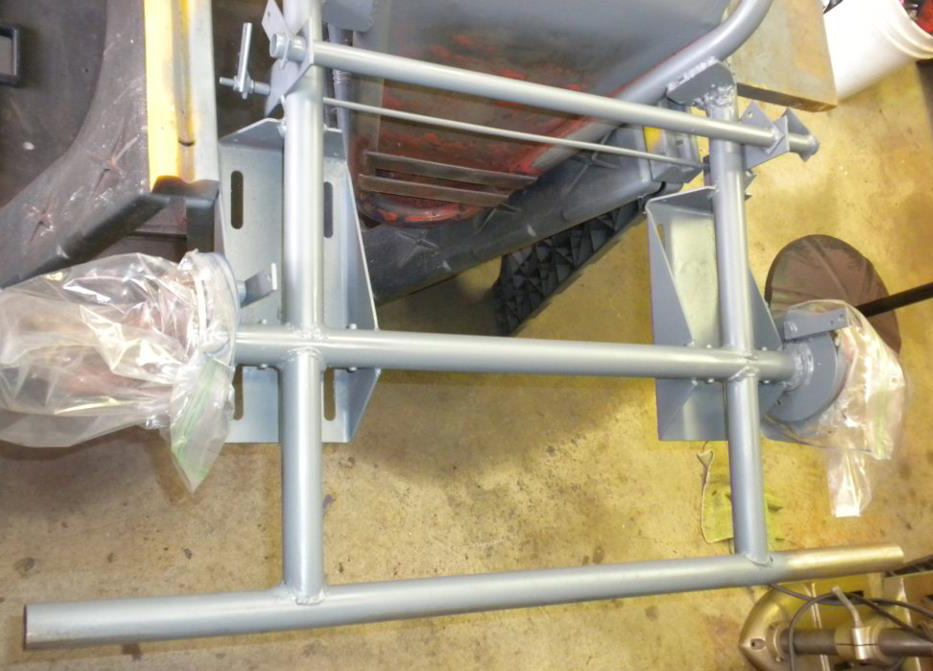
I wanted to make sure the bottom of the kart looked as good as the top...
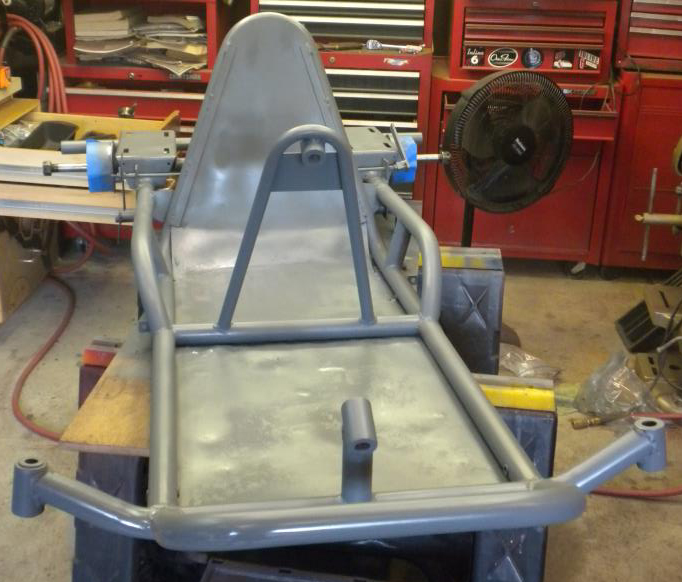
A full shot of the fame primered.
Starting to look good.
The paint turned out very good for a rattle can job, I put 2 coats of Krylon High Gloss Clear over everything for duribility though I doubt this will get much abuse.
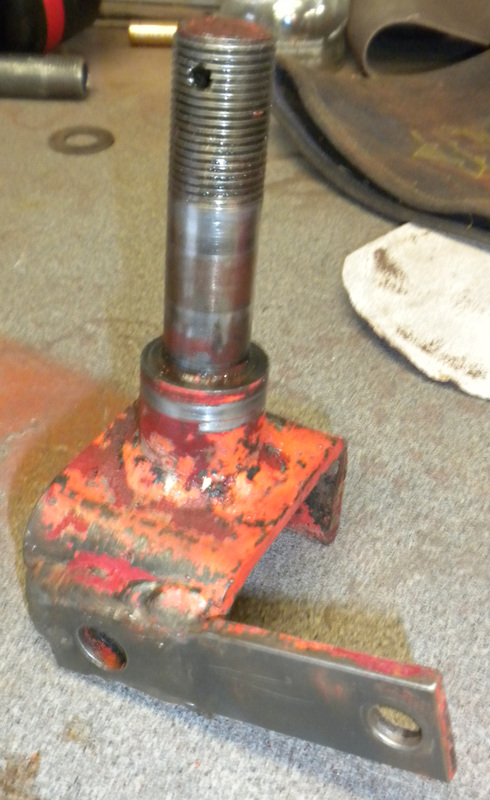
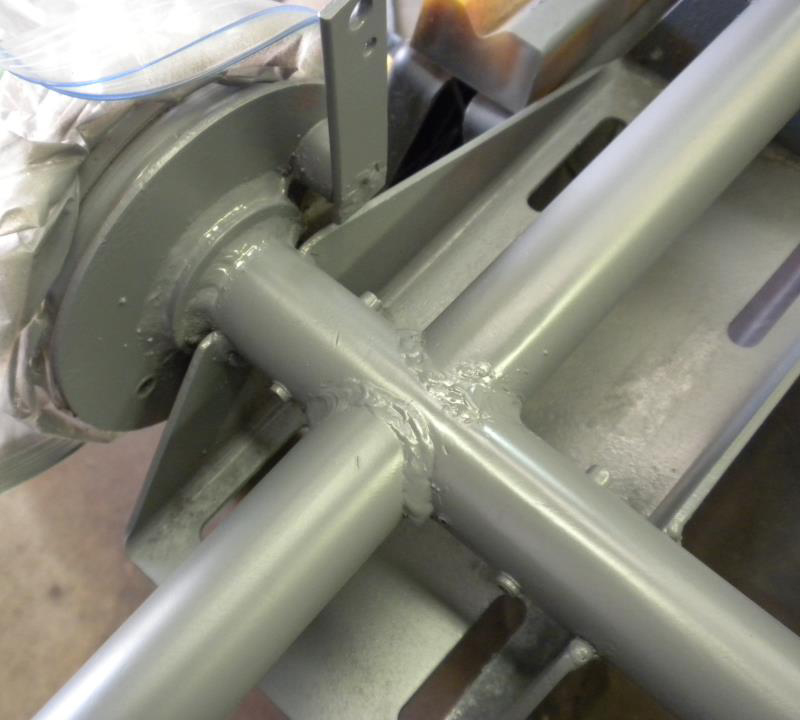
You can really see the original orange-ish red on the spindles.
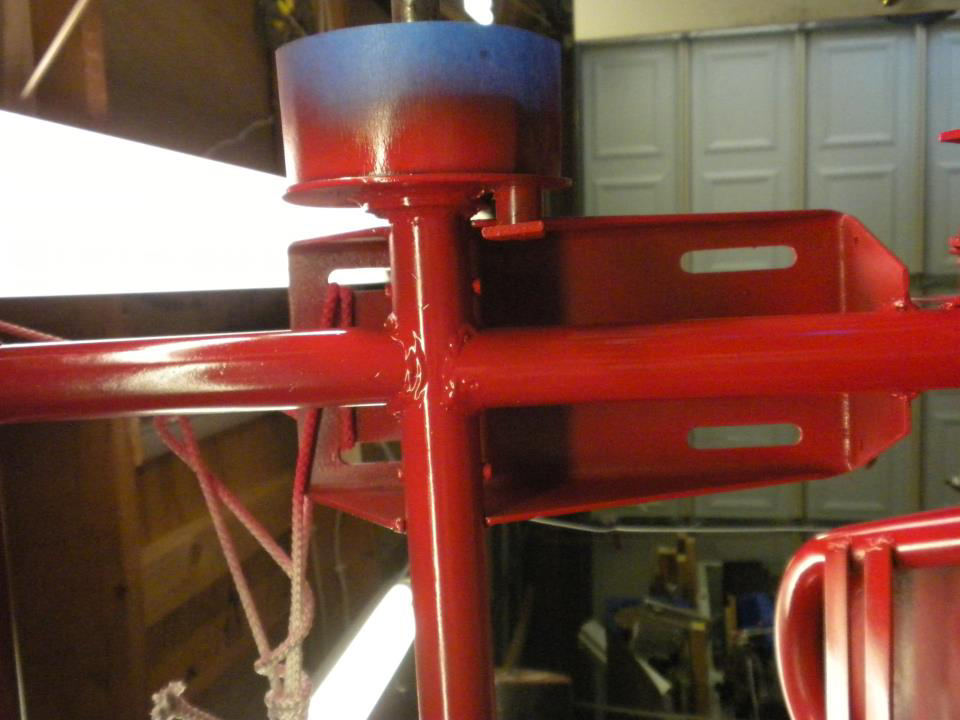
Then a few coats of Krylon Apple red followed by 2 coats of red. The blue is froma short lived decision to stray from the original red and paint it blue, glad I came to my senses!
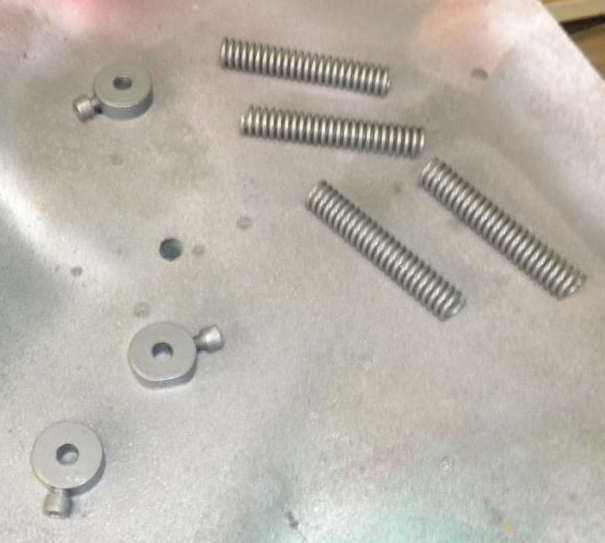
All the original springs and stops got a couple coats of gun metal Krylon
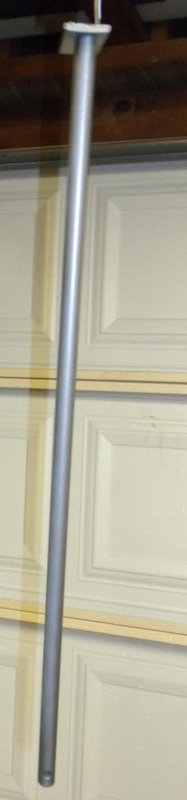
The steering shaft again covered in gun metal Krylon
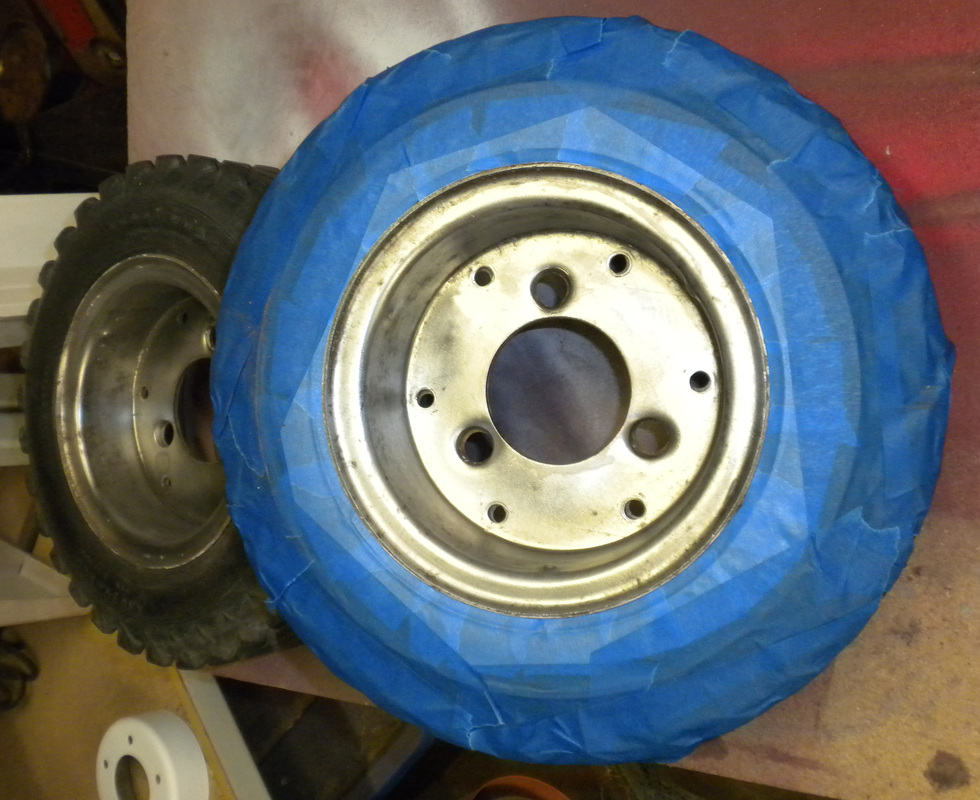
Here is a shot of the rear wheels stripped and ready to paint. I took the wheels and tires to Old School Mini Bikes in Livonia Michigan to have the tires removed, but they wer so seized up on there after 52 years that I didn't want to risk damaging them so I left them on and taped them up.
Here is a shot of one of the rear wheels painted with the brake drum and sprocket reattached. I had the original bolts and nuts zinc coated
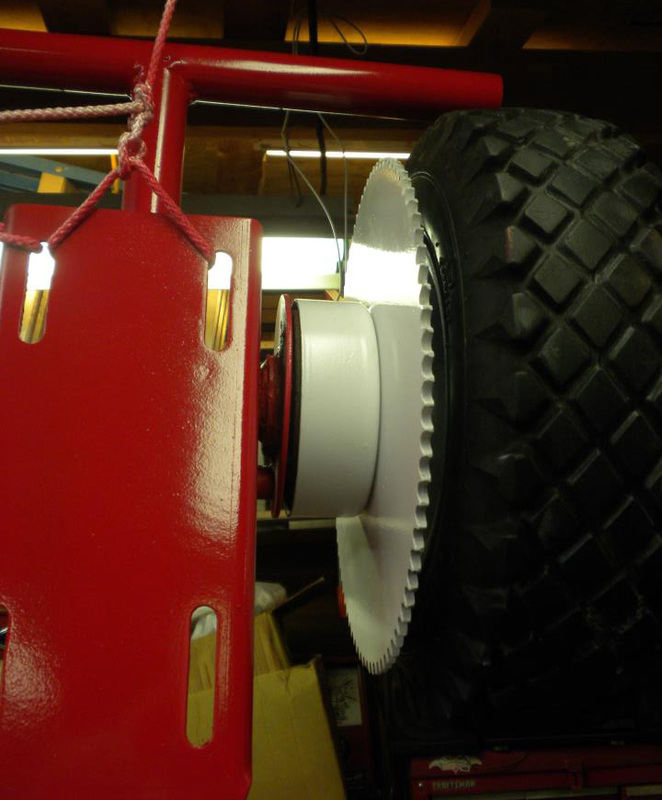
I absolutely love the white sprockets and brake drums, I used Rustoleum Appliance white to get a nice shine and for durability.
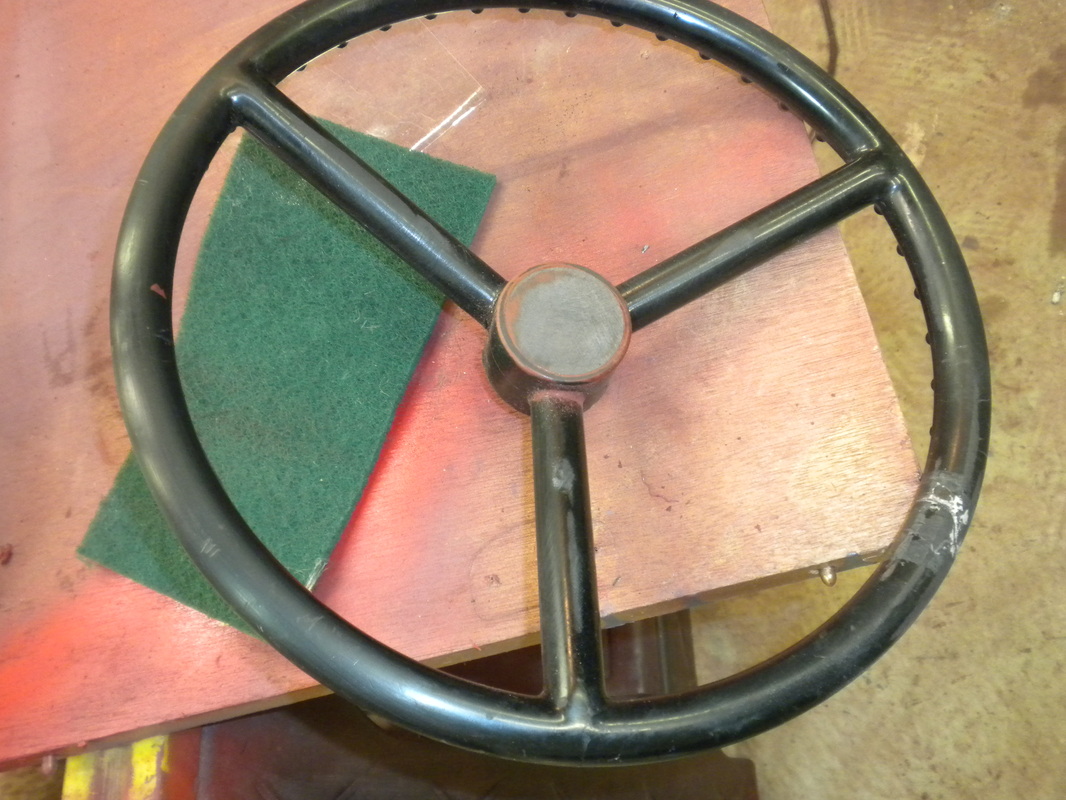
You can really see the crack in this shot
|
